
Build Update July/August 2018: Controls


Part 1: The Rudder Pedals


I laid out the cuts I'd need to make, the holes I'd need to drill, and gathered my hardware.


Then I pinned two blocks together using a 
drill bit, and updrilled them to 3/16" together
for perfect alignment, once drilled I put 
the bolt through and tightened it.


I drilled them to 1/8" and cut them on the bandsaw


 I cleaned up the edges on the sanding wheel, and we were off to the races!
I located the center holes, these were where the steel tube of the rudder pedals would come through.
I used a 1" spade bit to boar through the phenolic, and yes, this freed up about 3.5 square inches of COMPRESSED phenolic, and sent it all over the work bench.


Now that the holes were drilled, I used the Dremel, with a sanding tip, to ream them so that they fit with minimal friction. Taking a bit of extra time on this was well worth it since it made my rudder pedals silky smooth, like every other control will be in my plane.


Part 2: The Control Sticks

The most iconic control is, of course, the stick. In the standard Sonex, there is one control stick, in-between the two seats. There is a dual stick mod, that I opted for.


 There was the normal sanding to get the clearances just right. and then I needed to connect the control horn (the black triangle piece) with the stick grip (the long straight pipe)


I had to get this just right so that my controls were not lopsided.


I lined it up, clamped it down, and drilled it through.

I pushed the bolt through, tightened it all up, and it was good to go, now I had to put the stick assembly in the control triangle (big metal trapezoid)


And of course, I had my dog Zoe helping me build!


With both sticks in, I needed to attach the linking rod. I lined up both sticks perfectly vertical and perpendicular to the control triangle.


I aligned the linking rod and drilled.


Hard to hold back a grin when I finish any piece, but the control sticks were a different story, it was impossible not to smile and pretend I was flying.
Part 3: The Trim and Flaps


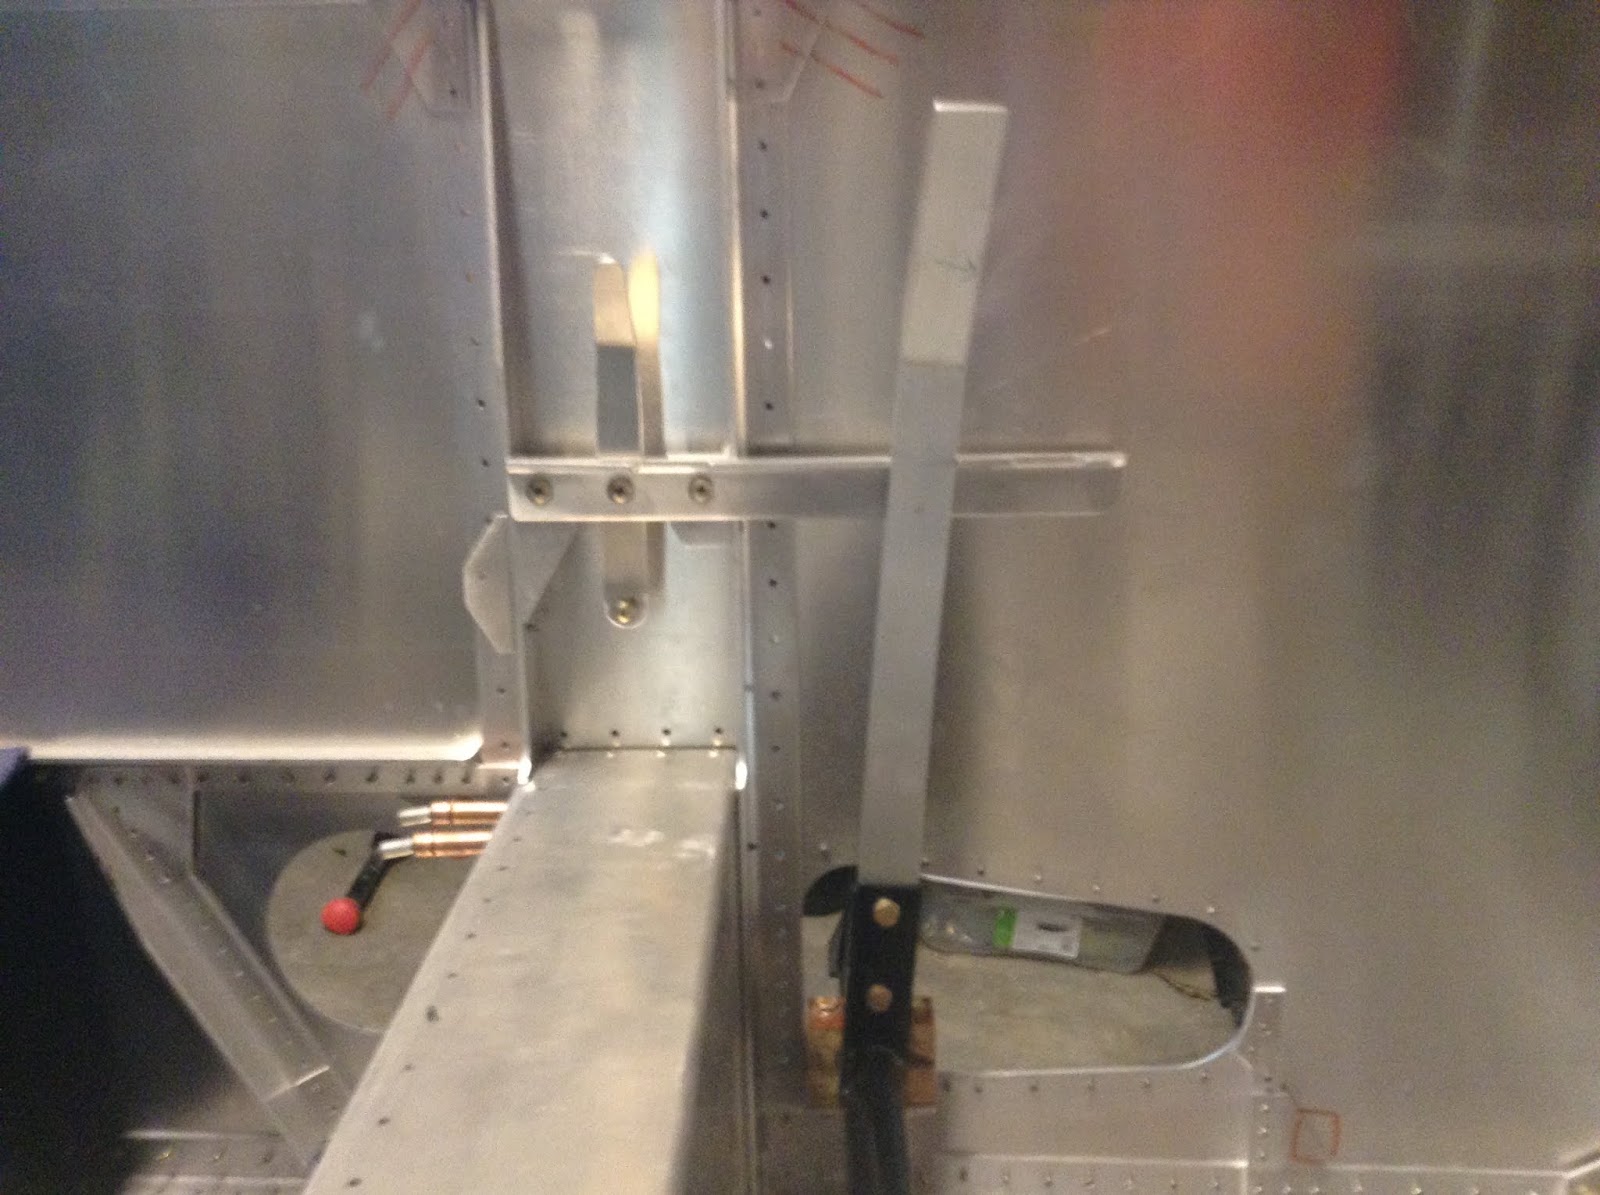
The flap drive is a big long steel tube that runs just in front of the spar tunnel and pokes out each side into where the wings will go. it too use phenolic blocks to ride in a extremely low friction bushing.

It's bolted up the flap handle, which sits in 1 of 3 positions in the flap detent bar, no flaps, half flaps, full flaps. (the handle, and detent bar will get powder coated black)


The flap detent bar, doubles as a mount for the trim lever, this will control the trim tab way back in the elevator via a this metal pushrod, basically like a model airplane. This is one of the few controls that I do want stiff so it doesn't flop.


Thanks to everyone who follows my progress, y'all are always encouraging, supportive, and helpful!


Popular posts from this blog

Build Update April 5 2018: Dissasembling the Aerovee

The engine I bought was already built, and had not been run. My dad and I planned to take it all apart to give me a better understanding of the engine, as well as to identify any problems before they got bad. The Arovee engine was heavy and awkward to move. at the time it was sitting on the workbench with everything installed. Going into this I had only enough sense to tell you which cylinder is the #1, 2, 3, and 4, and I knew some of the terminology, such as crackshaft. I frequently asked my dad "what do you call that part?"  we began unbolting stuff in roughly reverse order from the manual (if you're familiar with sonex plans, you're used to backwards) In under an hour we had stripped many of the external parts off and the engine had lost at least 20 pounds! A box was designated as the hardware box, so it'll be like legos trying to find the right bolts and nuts again when I reassemble it. the important part is that they're all together and no...

Very loose build update

It is full swing gymnastics meet season, and I'm working extra hard on schoolwork to make up for the time I'm away at gymnastics meets, and I'm building and flying whenever possible. With that all on my plate there is very little time for writing, but I will give a overview of what I've accomplished. I built the side walls of the forward fuselage: I have purchased an engine from a fellow sonex builder and member of my EAA chapter (the four cylinder 80HP Aerovee)  And I have set to work building the Forward Fuselage box I will flesh out this post in the future as soon as I can, if you are considering going to Sun'n'Fun this year is the best to go, I will be giving an hour talk at the forums all about the unique challenges of being a teen balancing all my various spinning plates, and still making time for aviation and building my plane. I'd love to see you all at Sun'n'Fun!  Thanks! (this is a short pos...

Build Update August 7th 2018: Brakes, and Glareshield

Today I got a ton of work done on my hydraulic brakes system. I assembled the mount for my master cylinder and through some testing and pretending to sit in the cockpit to get a feel for where I want my brake lever, I located the exact position. I drilled and clecoed the whole assembly. with it in place, the real work behind hydraulic brakes set in. I cut my 12' length of tubing into two pieces, one for each brake. In order for the brake lines to get from the master cylinder inside the plane, to the brakes on the wheels, I had to drill a couple holes in the firewall at the front of the plane. One of the worst things that can go wrong with these brakes is having a line break. If that happened I would loose all pressure and have no brakes. If the brake line touches something, it will likely vibrate against it in flight, if it does that, eventually it will break. To prevent my lines from breaking and loosing their fluid, I use a larger size tubing, that just bar...