
Build Update: Aileron/Flap Alignment June 14 2017

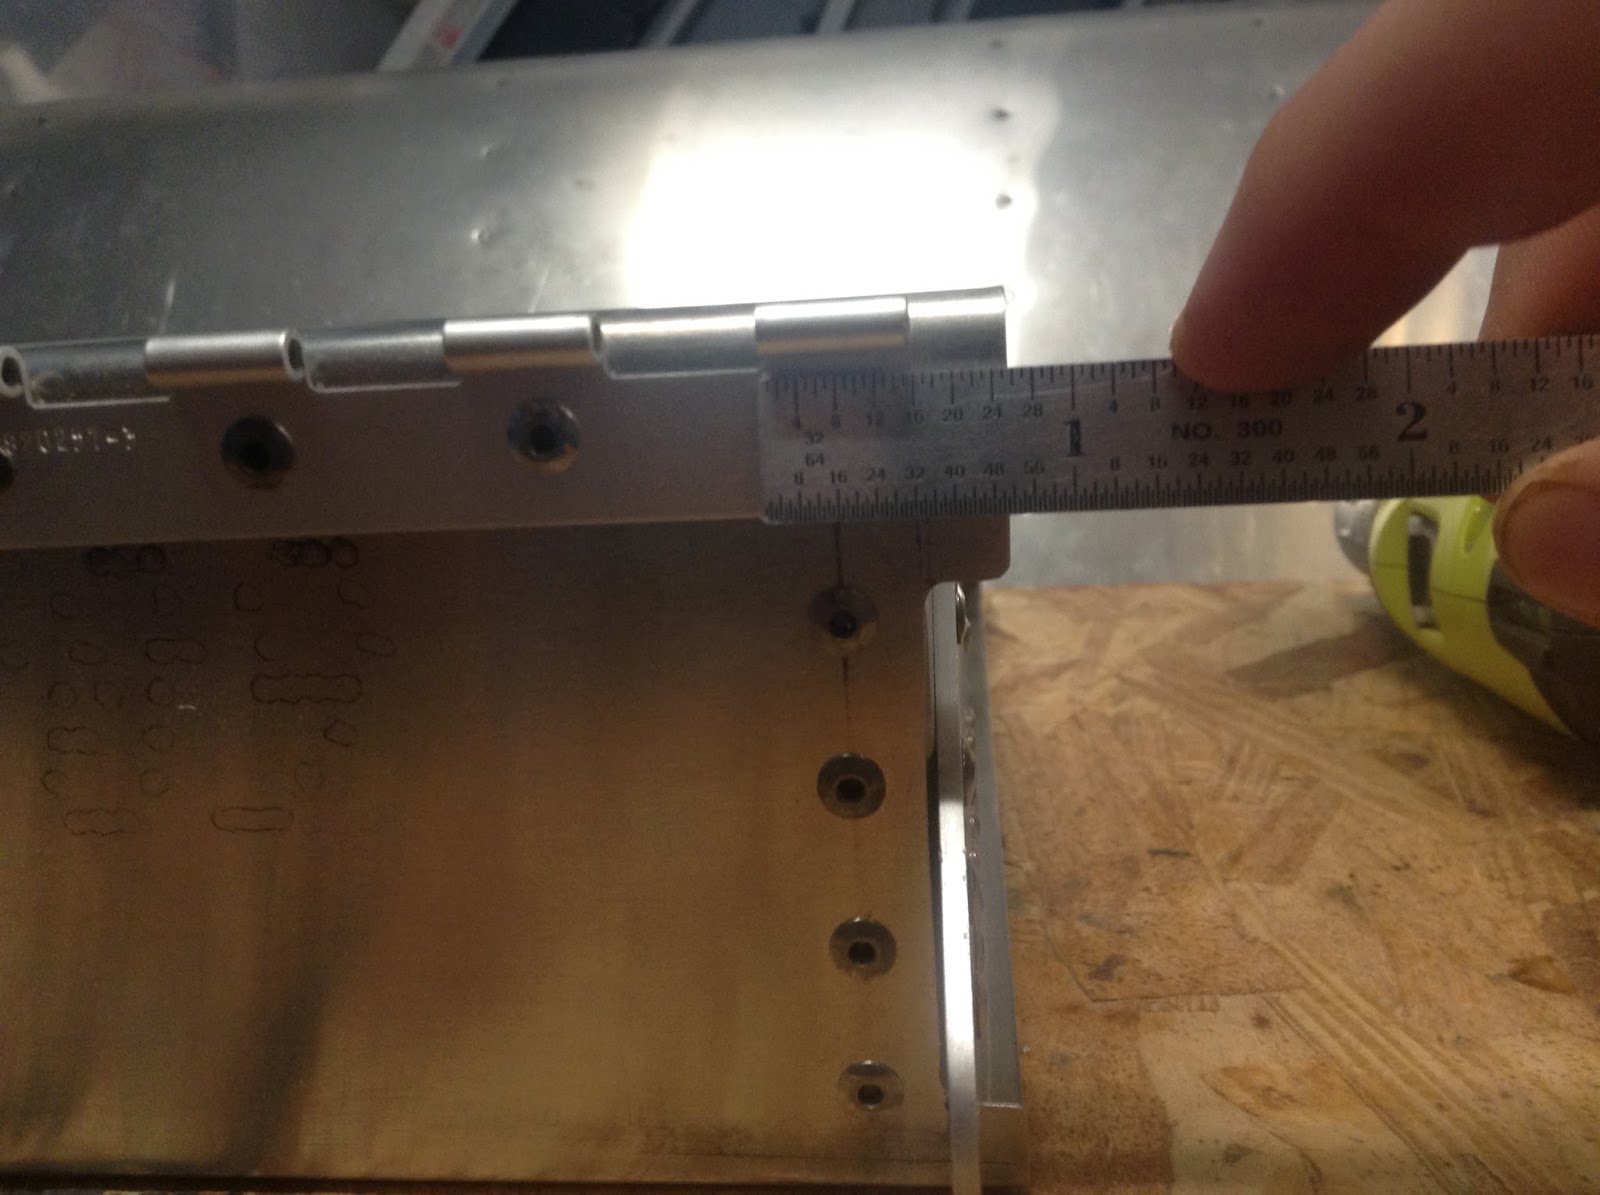
After a few more days of drilling I was nearly ready to take the skins off and prep them for riveting. The only thing left was to updrill the holes in the rear spar. The first step was to bring the ailerons and flaps home from the airport. Next I consulted the plans to find how the control surfaces are meant to be aligned. As I was reviewing the plans I found that the hinge had been riveted 1/2" inboard of where it was should have been.


It was determined that this would cause more difficulties down the line if I didn't do something about it. My dad told me that I would need to drill out the entire hinge line, and for a minute I was excited. "I had never drilled out rivets before!"


I assembled the required tools
  • Drill
  • #30 Drill bit
  •   Drill Lube
  • Punch (for removing the mushroomed part of the rivet)


That night I learned the secrets of drilling out rivets. Reduced speed, High pressure (20-40 pounds it felt like) Well lubed drill bit, and a hole lot of patience.


After 30 or so rivets and 2 hours I came across the last 4 rivets. These would be no easy task as they were guarded by the Aileron's counterweight mount. This would require a new tactic but I had no idea what that would be! My dad however was an expert on rivet removal, He pulled out the dremel  and began plugging it in. This was the perfect solution as it allowed me to grind the head of the rivet clean off, along with a fair bit of the hinge's aluminum. (but the hinge was scrap anyways). The thin cutting wheel of the dremel made it easy to reach the previously out of reach rivets. Before I turned the tool on to cut, I rehearsed the cut physically to make absolutely sure I wouldn't damage the counterweight mounting bracket.


 Now that the hinge was off, I needed to prepare the new hinge for installation. It turns out you don't have to carefully measure your hole positions for a Sonex hinge, because you can use a template to easily drill perfectly spaced holes.

I've found that much of building is about saving as much time as possible while still making things perfect.

I drilled and clecoed both ends then the middle. Once the template was securely anchored, I went down the line drilling each hole.


A glance at my watch revealed I had yet again fallen into a building stupor and again it was past 10PM, Oh well Who needs sleep when they have an airplane project, I know I can get by without!

Thank you so much to everyone who has aided me.

Mr John
Paul Shadwick
Stan Whitfield
Ron Sipple
Ralph and Joyce Shultz
Paul and Beth Duff
Paul Hockin
Nicholette Shultz
Gordon Fern
Anon Anon
Jeannette Shultz
Mike David
Jonathan and Julia Wolfe
Jon Palmstrom
Laurie Burns
Donna Mickel
Dana Baker
Mrs Nadine
Eric Johnson
Tammy Reap Hayes
Jeff Shultz
Brandon Lenart
WP Maesh
Michael Couillard
Mr Anonymous
Joe And Judy Green
Mrs Brenda
Mrs Cathy
Paul and Vickie Laberge
Judy and Roger Kemmerle


The purpose of this blog is to document and share my experience of building and later flying an airplane. In the first portion, I will thank all the wonderful people who donated to me. Then in the second section I will post a building update, hopefully every 3-4 days ,explaining what I have done  in detail and with pictures. Finally in the third and last section, I will post my flying adventures, and any maintenance I do. Thank you or your support and interest, I am pumped to be executing this project.


Popular posts from this blog

2016 Kansas City Turkey Shoot Report

This Thanksgiving my family went to Kansas City to visit friends and family. Well, when you have two or more old aviation buddies in the same city, you tend to form a bit of a gathering. Thus the 2016 KC Turkey Shoot was created. It involved 3 Sonex , and a beautiful Cessna. And consisted of a flight from a Gardner Airport to We-B-Smoking BBQ at Miami County Airport. I Flew down with Bob Mika's in Katie, his Sonex, while my dad and two friends ,Zander and Laney ,flew in Mr Ron's smooth Cessna. I even got to fly for about 10 min! It may not have been hours, but  the Aerovee-powered plane flew wonderfully in the  morning air. Once we arrived, my nose was overrun by the luxurious scent of pancakes, and when I surveyed the room, I saw countless airplane pictures. (I lost the photo, Y'all will just have to go) http://www.websmokin.com/  Sitting down to eat at a table that seemed average, we awaited th...

Plane Painted

When I flew my plane to OSH23, I saw an artist painting a small depiction of an airplane. She was painting a very small photorealistic scene from a phone image. I could not believe how detailed she was able to make it! She let me watch over he shoulder as she worked. I was so impressed that I commisisoned a similar painting of my sonex. Id like to share that painting with you all. Her name is Rhonda DeGarmo. She has a lot of other work. If you're interested in getting in touch with her please reach out to me and I will pass along her information.

Very loose build update

It is full swing gymnastics meet season, and I'm working extra hard on schoolwork to make up for the time I'm away at gymnastics meets, and I'm building and flying whenever possible. With that all on my plate there is very little time for writing, but I will give a overview of what I've accomplished. I built the side walls of the forward fuselage: I have purchased an engine from a fellow sonex builder and member of my EAA chapter (the four cylinder 80HP Aerovee)  And I have set to work building the Forward Fuselage box I will flesh out this post in the future as soon as I can, if you are considering going to Sun'n'Fun this year is the best to go, I will be giving an hour talk at the forums all about the unique challenges of being a teen balancing all my various spinning plates, and still making time for aviation and building my plane. I'd love to see you all at Sun'n'Fun!  Thanks! (this is a short pos...