


I cut my 12' length of tubing into two pieces, one for each brake. In order for the brake lines to get from the master cylinder inside the plane, to the brakes on the wheels, I had to drill a couple holes in the firewall at the front of the plane. One of the worst things that can go wrong with these brakes is having a line break. If that happened I would loose all pressure and have no brakes. If the brake line touches something, it will likely vibrate against it in flight, if it does that, eventually it will break. To prevent my lines from breaking and loosing their fluid, I use a larger size tubing, that just barely fits the brake fluid tube inside of it, in any areas that the brake line would touch part of the plane's structure as a pad.


With the lines routed and padded, all that was left was to trim to the perfect length and plug it into the brass coupler on the brakes, completed my hydraulic circuit.
Now when I pull the brake handle, it will compress the master cylinder and create higher pressure in the brake lines, this will cause the pucks to pop out and rub against the metal of the wheel and stop the wheel.
Except when I pull the handle nothing happens, that's because my brakes don't have break fluid in them! With just air in the lines, it is less work to just squish the air a bit, and physics is pretty lazy always trying to do the option with the least work. So the lines will get a little higher pressure, and the air will push against the pucks, but not with enough force to push them out against my wheels, and certainly not with enough force to apply enough pressure to be useful as brakes.


I used a special pump to make sure I didn't pump any of that nasty compresable air into my brake lines. I then connected the pump to the bleeder port, and pumped away. The purple gatoraid colored fluid went all the way up the left brake line into the master cylinder, filled the cylinder, and went back out into the right brake line. That's where things broke down.
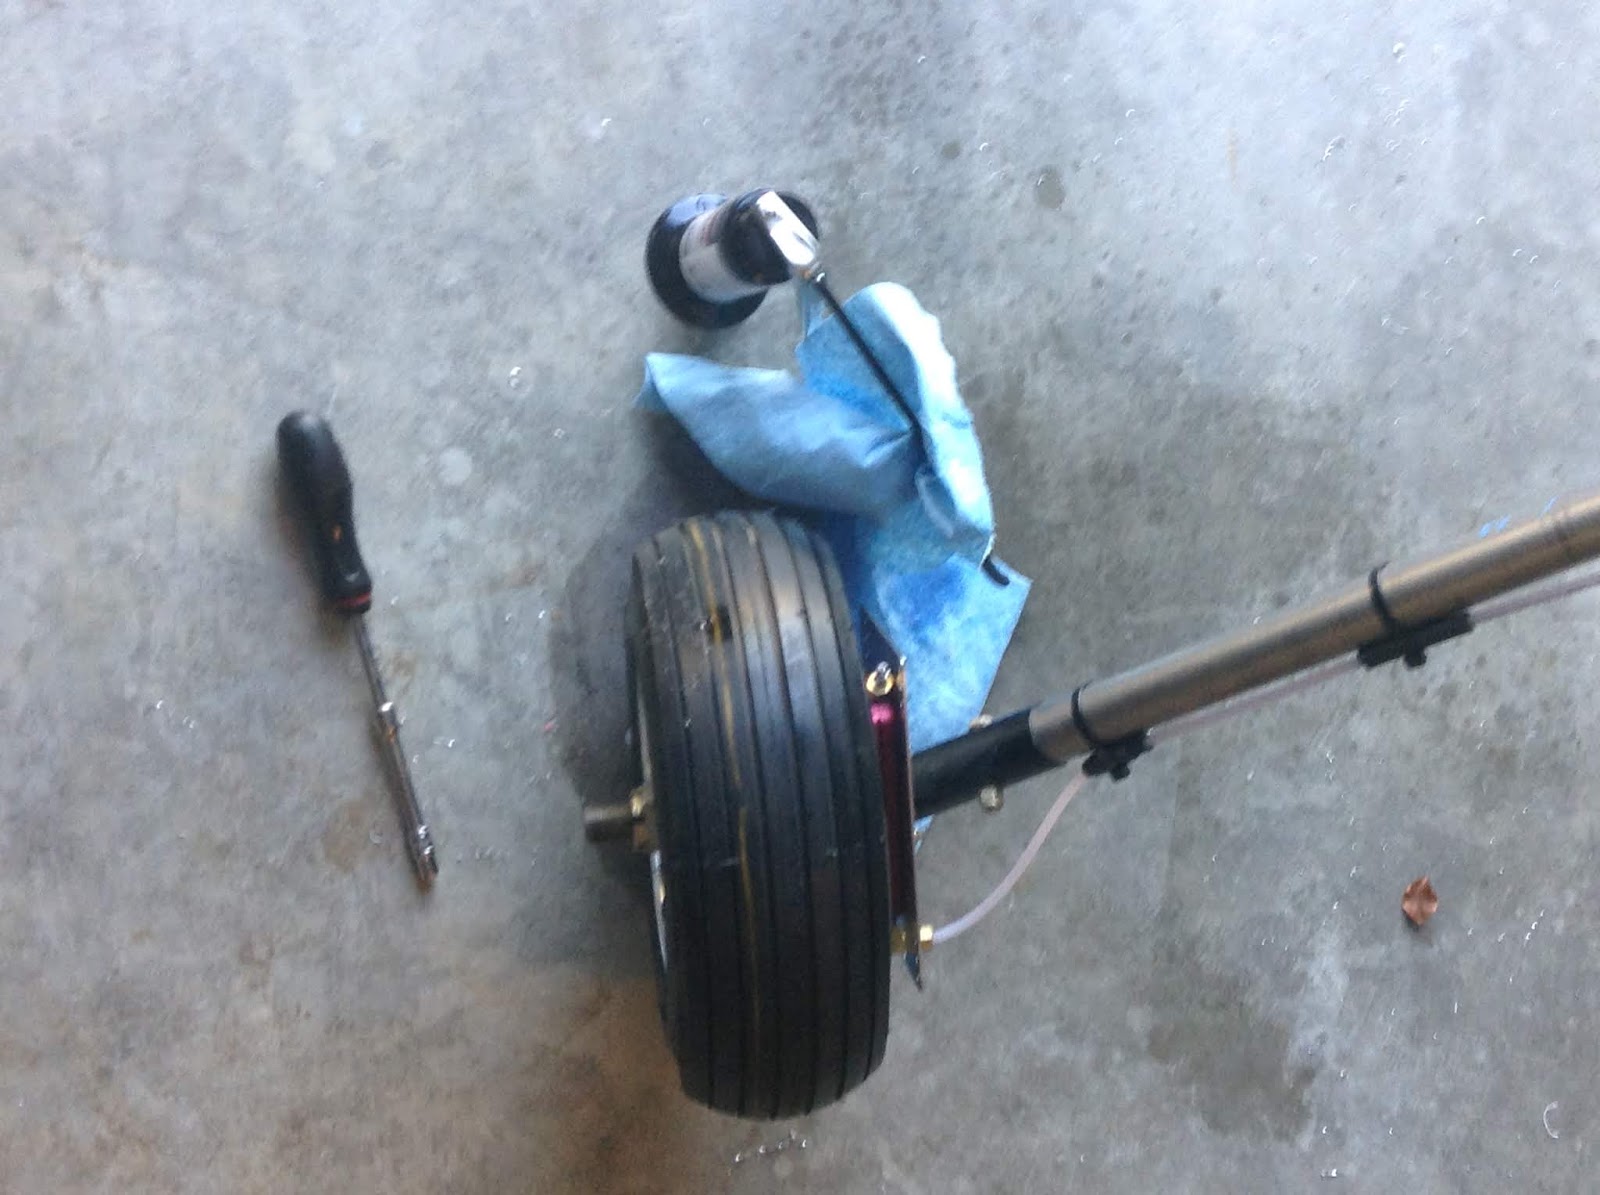

It leaked right past the O-rings in the cylinder and out past the puck onto the floor. This will NOT work! After some experimenting we determined that the best thing was to let the O-rings soak up the fluid and expand all the way, sealing the system, then in a couple days we will add more fluid to replace all that leaked out.

While those were marinating I had to keep busy doing something, so I turned to the plans sheet on about the glare shield and instrument panel. I gathered all the pieces.

Had to get the glare shield out of the box with my canopy in it, this box hasn't been opened since April last year when I picked up the kit!


¯\_(ツ)_/¯
I wanted to modify the tilt of the panel from 30 degrees off vertical, to just 20. This, we found greatly reduces glare off the instruments. In order to figure out how to cut the glare shield I had to do some quick math, and I seem to have ruined my shopping list by scribbling all over it!

With the modifications factored in, I began measuring where to cut the glare shield. For those interested the original distance you cut back the panel side of the glare shield was 3 7/32", in order to make the panel sit at 20 degrees I cut my back 1.9"


I cut on my lines and cleaned the edges up with a file and scotch brite, then marked my hole locations, and drilled. Every day it looks more like an airplane!
Thanks to everyone who's given me a hand
Mr John
Paul Shadwick
Stan Whitfield
Ron Sipple
Ralph and Joyce Shultz
Paul and Beth Duff
Mario Gonzalez
Paul Hockin
Kevin White
Charlie and Tupper England
Rick Cavett
Nicholette Shultz
Gordon Fern
Anon Anon
Jeannette Shultz
Mike David
Jonathan and Julia Wolfe
Jon Palmstrom
Laurie Burns
Donna Mickel
Dana Baker
Mrs Nadine
Eric Johnson
Tammy Reap Hayes
Jeff Shultz
Bob
Brandon Lenart
WP Marsh
Michael Couillard
Mr Anonymous
Joe And Judy Green
Mrs Brenda
Mickey Gonzalez
Mrs Cathy
Paul and Vickie Laberge
Judy and Roger Kemmerle
Fico Gonzelaz