


Riveting the Fuselage side panels was extremely satisfying! After a few day's hard work, I had built up these huge 10' long metal structures!
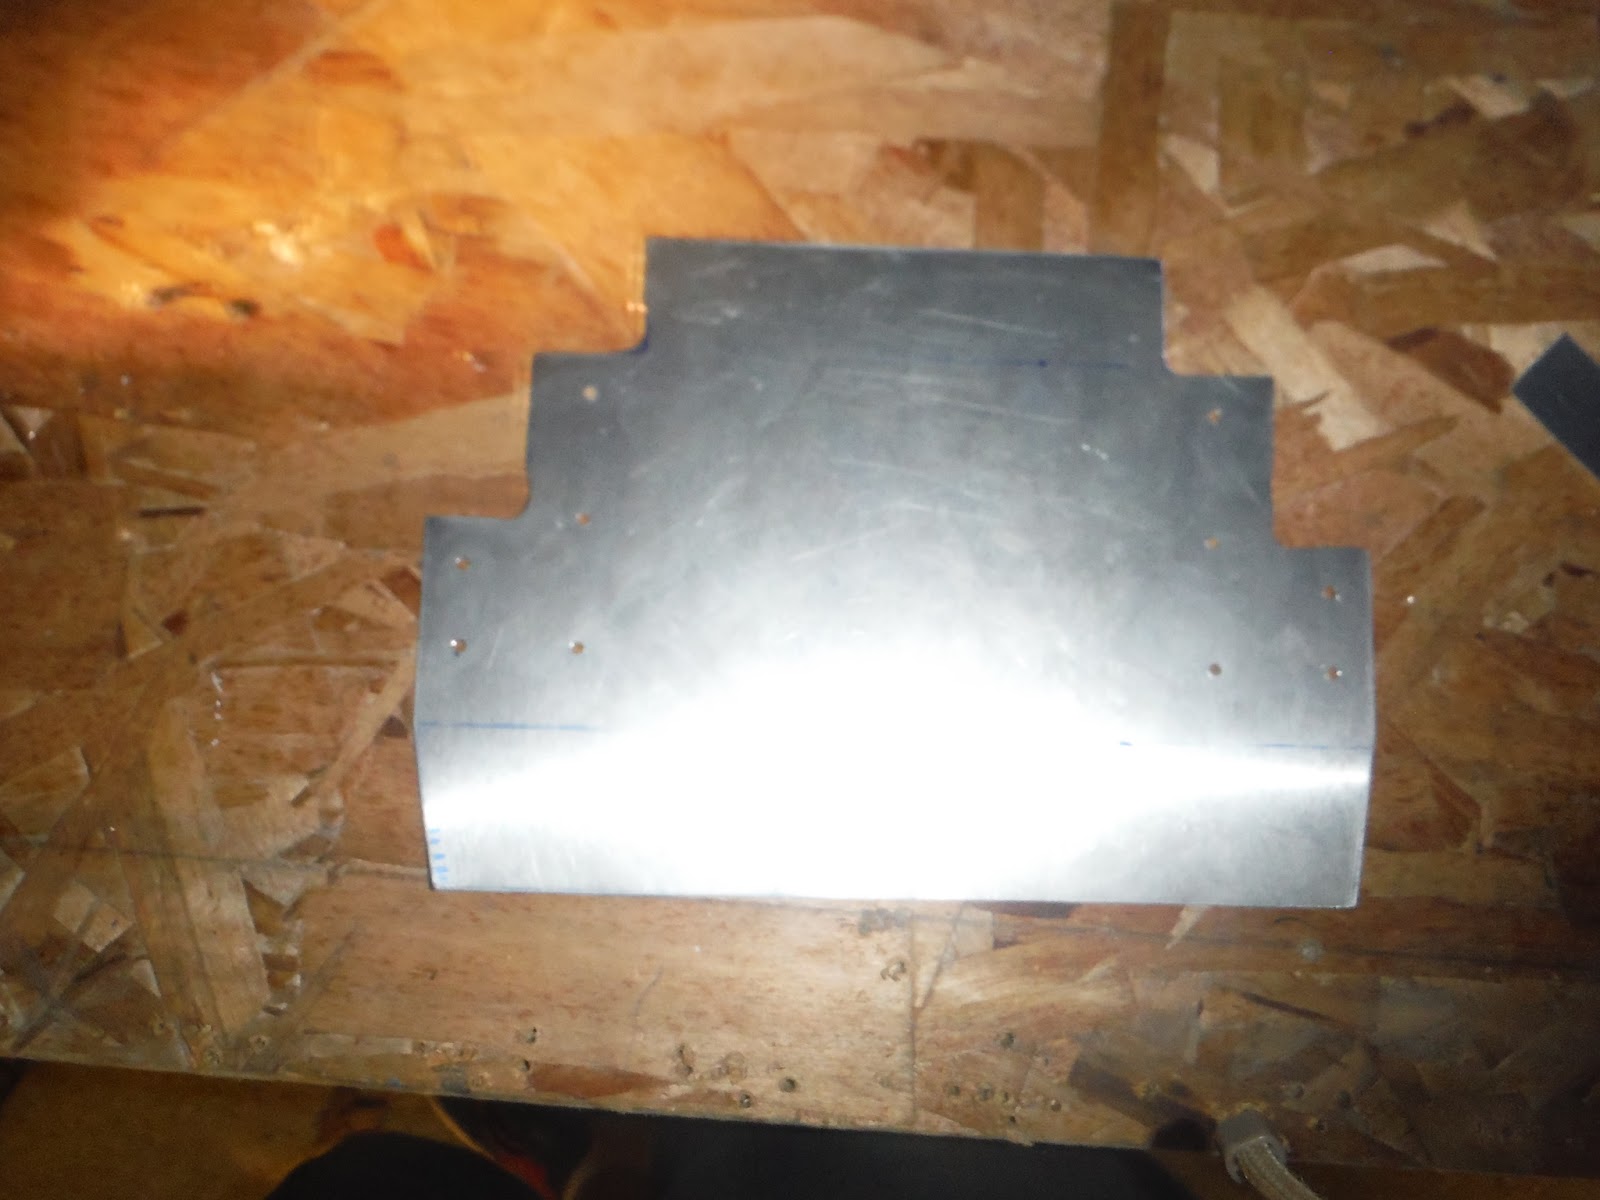
I used cross ties that were akin to the vertical stiffeners. They were a C-shaped channel piece, with a prepilot drilled hole pattern that perfectly matched the spot they went. I clecoed them in place wit ha small cleco, and moved on to the next step.


And of course, once you accomplish something in your kit, don't forget to celebrate!


 |

At this point I updrilled the #40 pilot holes to the larger #30 final size holes. After I updrilled I disassembled, deburred, and reassembled the cross ties.


 |
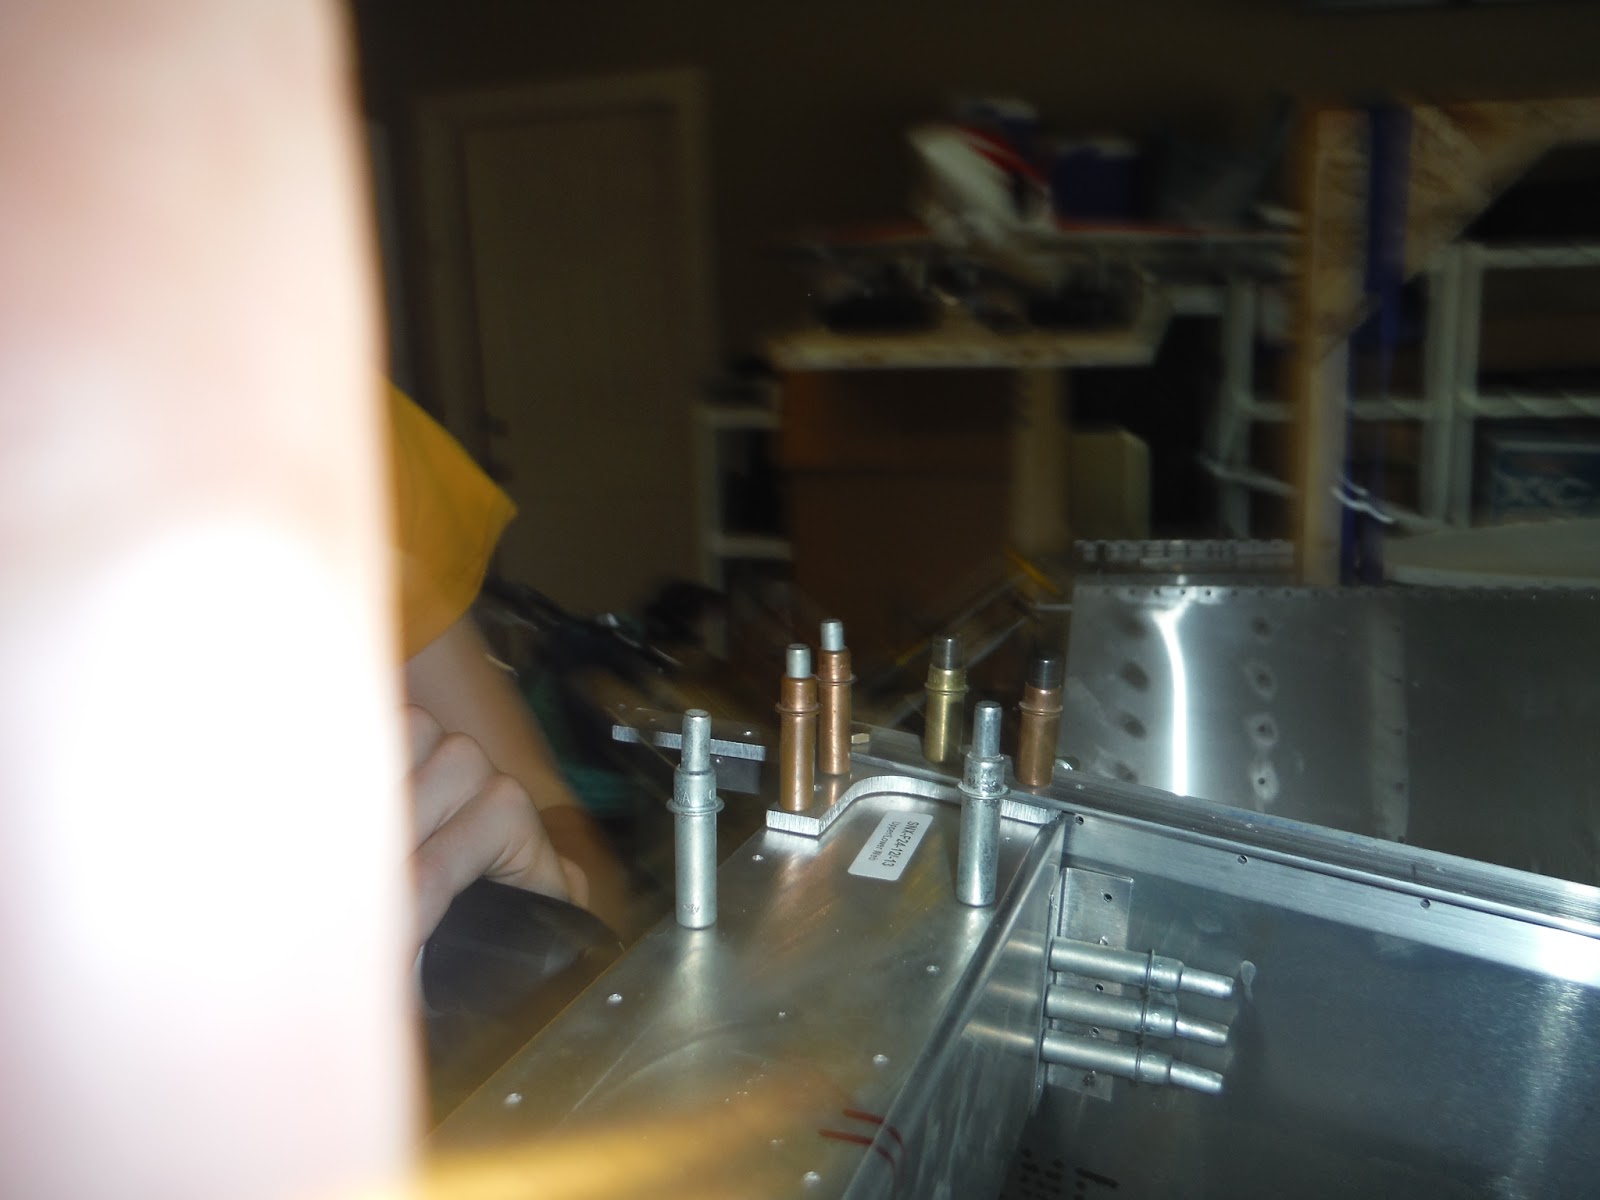
| This picture looks kinda creepy |


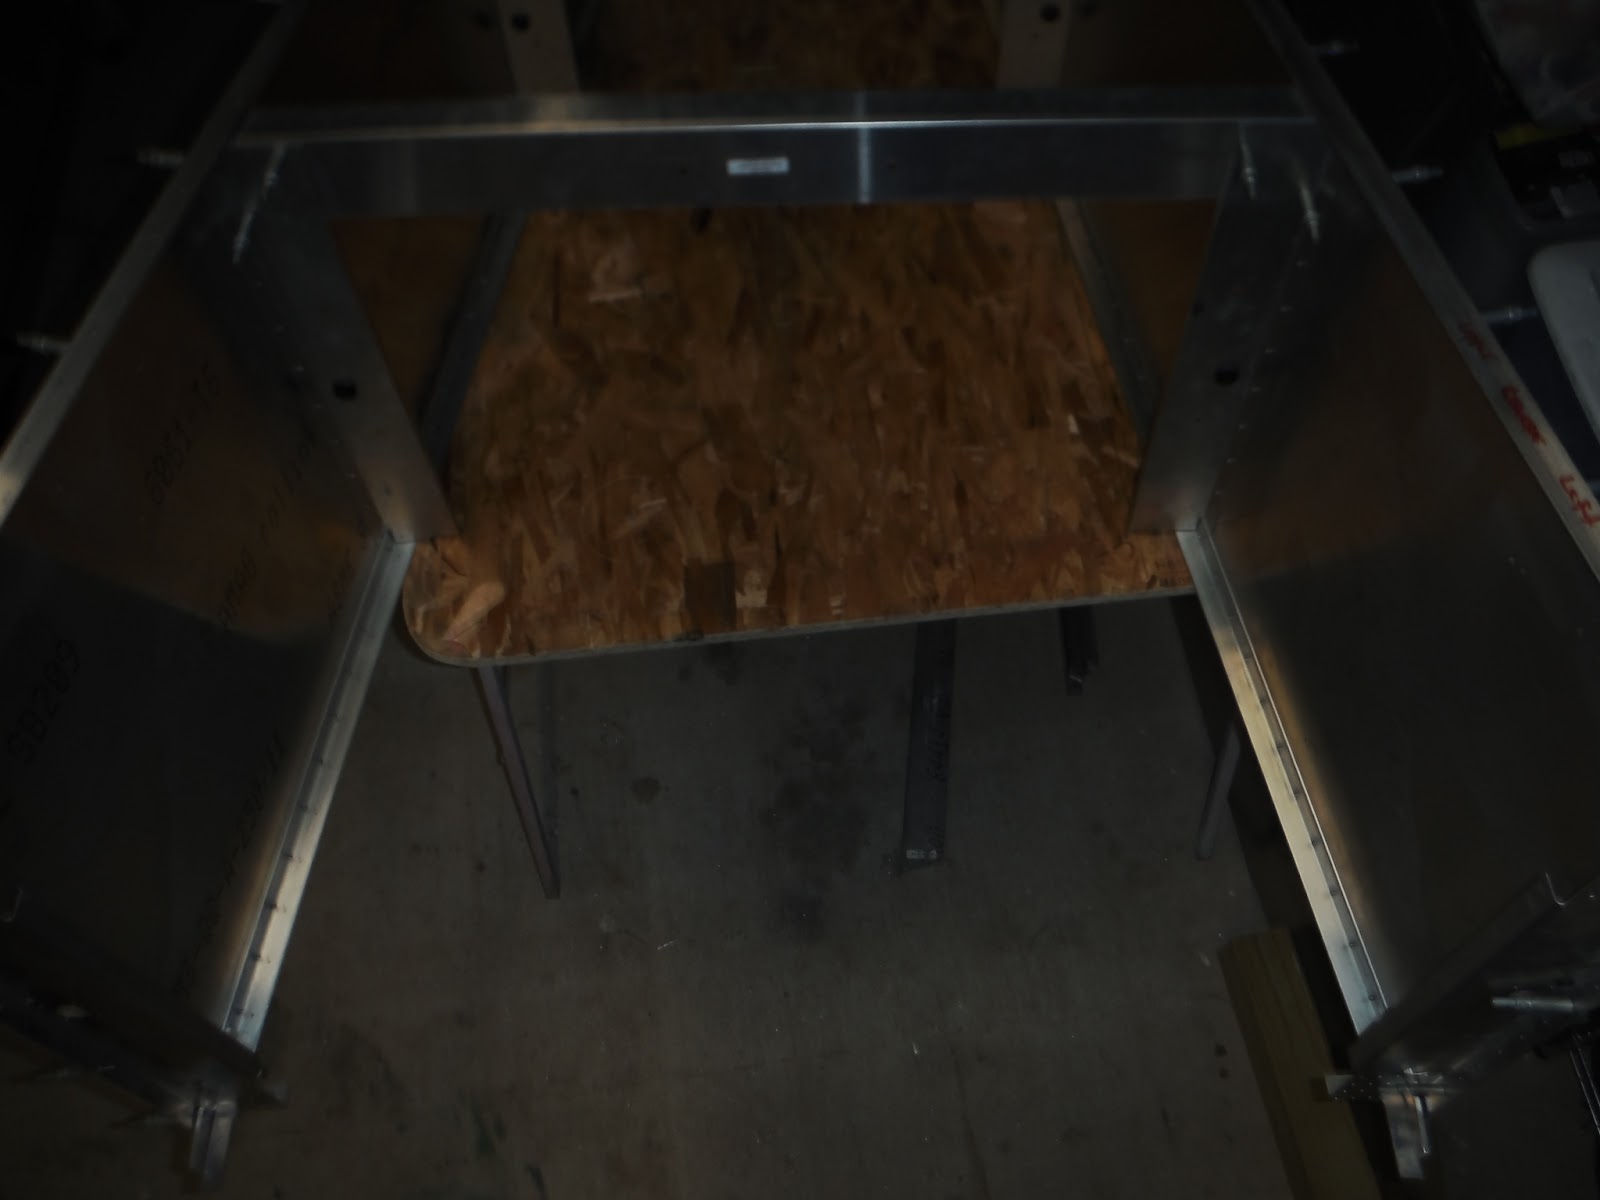
When most of that work was complete, I prepared to fit the bottom skin. The bottom skin had laser cut pilot holes in it that lined of with the holes in the lower cross ties. I fit the skin by clecoing it on to the holes in the cross ties, and with a sharpie marked any spot that was too big and hung over the side skins. The skin came off, I files my marks down a bit, and put the skin back on. Using the prepiloted holes in the skin, I drilled into the longerons adding clecos as I went.


I didn't manage to snag any pictures of the next process but ill explain it to give a good mental image.
The Tailwheel mount is a welded steel piece. It bolts to the aft fuselage with 8 bolts in two locations to prevent twist, And it has no predrilled holes. it uses a tube of steel as a sleeve for the titanium tail wheel rod to slide into, then it is secured by a bolt that goes through the rod, and steel sleeve.
To drill this hole I had to make sure the assembly wouldn't move, so I used a special tool called a V block, it was a v shaped channel that holds tubes and rods. I clamped it all down on the drill press so it was SUPER stable, and drilled through. The secret, as I learned from my dad, to drilling titanium is to lube the drill bit frequently, and allow it cool, You know it's cutting right if a long strand of metal comes out via the drillbit. Anyhow, once that was drilled I might as well drill the other side, another steel sleeve that transitions into the tail wheel. This piece being square would be vital to my airplane taxiing straight, forever. I did not want to screw it up. Consequently I spent nearly 2 hours positioning it to be drilled, I nearly had it right a few times and then did something to shift it and had to start all over. I repeated the process for drilling titanium, and then dad and I ordered pizza as we had worked straight through dinner and it was now 2200!
The amount of dominos pizza I eat while/after building, I ought to apply for a sponsorship from them!
Today/ yesterday (whenever this comes out) Is thanksgiving, I want to take this opportunity to express my appreciation for aviation being in my life, and to everyone who has reached down to my level and pulled me up. Thanks you so much!

Shout out to David, a pilot in the local area who just bought a Wiaex B model. (a wider version of the Wiaex a model, the Wiaex is simply a Y tail version of the Sonex) Good luck to you and you kit! You will be gettin' at it in no time!
Thanks guys!
Mr John
Paul Shadwick
Stan Whitfield
Ron Sipple
Ralph and Joyce Shultz
Paul and Beth Duff
Mario Gonzalez
Mario Gonzalez
Paul Hockin
Kevin White
Kevin White
Nicholette Shultz
Gordon Fern
Anon Anon
Jeannette Shultz
Mike David
Jonathan and Julia Wolfe
Jon Palmstrom
Laurie Burns
Donna Mickel
Dana Baker
Mrs Nadine
Eric Johnson
Tammy Reap Hayes
Jeff Shultz
Brandon Lenart
WP Marsh
Michael Couillard
Mr Anonymous
Joe And Judy Green
Mrs Brenda
Mickey Gonzalez
Mickey Gonzalez
Mrs Cathy
Paul and Vickie Laberge
Judy and Roger Kemmerle
Fico Gonzelaz
The purpose of this blog is to document and share my experience of building and later flying an airplane. In the first portion, I will thank all the wonderful people who donated to me. Then in the second section I will post a building update, hopefully every 3-4 days ,explaining what I have done in detail and with pictures. Finally in the third and last section, I will post my flying adventures, and any maintenance I do. Thank you or your support and interest, I am pumped to be executing this project